I've finally gotten around to posting some photos of the cork walls I started
here, painted and finished. They have been painted in a similar way I do all my adobe stuff and blend nicely with my existing builds. I have quite a few more to texture and paint, but they are relatively quick and easy to do. They are also very cheap and simple to construct.
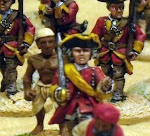
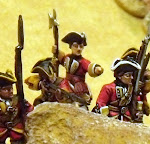
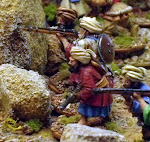
One small downside with them is that with my current terrain boards the walls sometimes don't sit flat enough, being displaced or raised by the larger pieces of sand and pebbles. This is only a slight issue though and something most wargamers live with. All in all I am very happy with the walls and know they will be very useful pieces. I do need to construct some form of firing step though, as the walls are just taller than a 28mm figure, as seen below.
(Click the images to enlarge)
 |
| Some of the painted cork walls laid out on the table. |
 |
| An unknown figure I picked up from a swap meet, beside a wall. |
 |
| Another figure, a sample from http://www.underbed.co.uk/ |










Very nice job, very effective. I have a pile of cork tiles lying somewhere myself...
ReplyDeleteGreat work!
ReplyDeleteReally nice modeling! The Mr. Dunn Lappedover is headed for his favorite tavern for a fill-up of Port and roast pork!
ReplyDeleteVery nice walls.
ReplyDeleteExcellent. I've been toying with various ideas to make walls using cork tile as for a while. I will have to give these ago.
ReplyDeleteVery nice! Good choice of colours.
ReplyDeleteThanks all for the nice comments.
ReplyDeleteThey have painted up really del, superb work Sir.
ReplyDeleteSuperb! Cork is the new black as far as I'm concerned ;-)
ReplyDeleteVery nice work, very effective, and timeless too.
ReplyDeleteWow!
ReplyDeleteAmazing job!
How did you paint the walls?
Did you textured it first (if so, how?) or did you just painted over the cork?
The walls were textured with filler and then painted. :)
ReplyDelete