


When my group decided to get into Chain of Command I starting putting together terrain for a Normandy table and building a French garage was always high on my to do list. There were already so many great examples out there and I had a lot inspiration to work with. One of the problems I faced with building a garage was the lots of little bits I considered essential to bring it to life. The acquisition of a 3D printer gave me the ability to print everything I would need. What follows is a brief step-by-step of the build. There are quite a few images of the finished garage at the end, along with the sheet of sign and posters which I have made available to download should anyone wish to use them.
 |
| The finished garage. |
 |
| Gathering all the integral components. Walls are 5mm foamcore. |
 |
| Assembling the basic building and mounting on some plasticard. |
 |
| Removing the outer layer of card and some foam to accommodate the exposed brickwork. |
 |
| The exposed brickwork is simply DAS clay rolled out to 2-3mm and textured with a Greenstuff worlds texture roller to imprint the brick design. |
 |
| Fixing the brickwork, 3D printed windows and rolling door channels. |
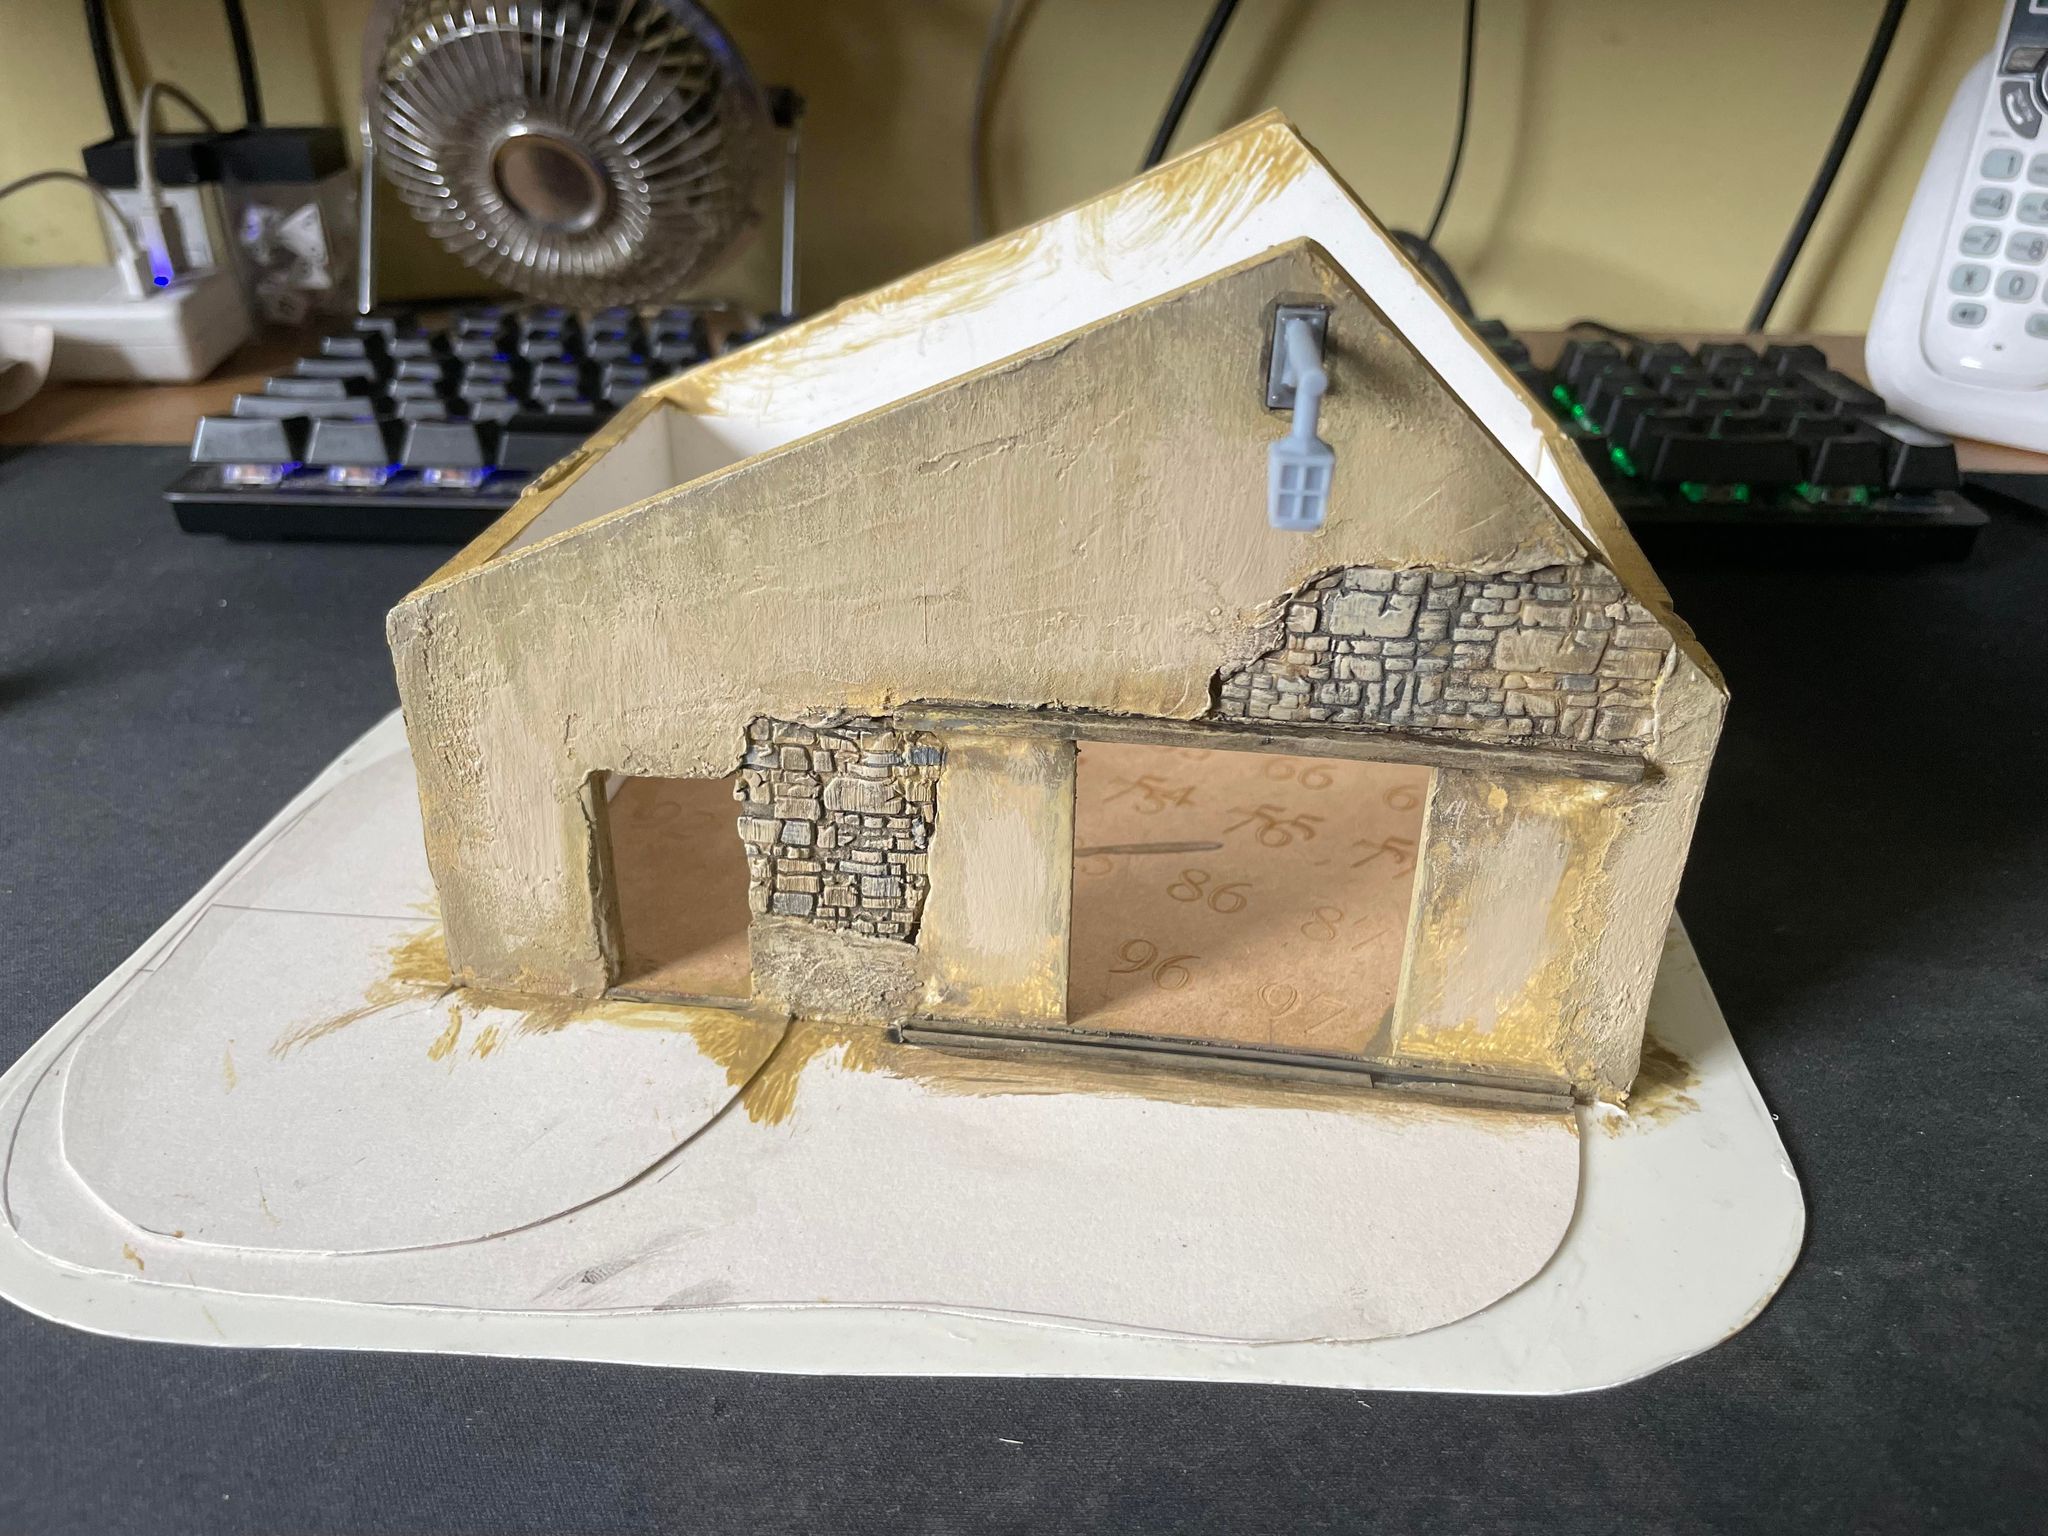 |
| The walls and brickwork, textured, painted and weathered, and the light fixed in placed. |
 | |||||||||
| Dry fitting the 3D printed doors and a Citroen for scale. |
 |
| The removable roof was made out of foamcore and card. |
 |
| Cutting strips of tried and tested card shingles... |
 |
| ...old school, but effective. |
 |
| Giving the doors a lick of paint and weathering. |
 |
| All the bits and pieces laid out. |
 |
| My sheet of signs and posters. |
 |
| Test positioning the tank and the other bits. All the greebles were glued to a piece of blister plastic to make it easier to paint and then fix them in. |
 |
| Almost done - everything fixed in placed. |


 |
| A Sherman for scale. |
 |
| Some Warlord plastic Airborne for scale. |
 |
| My sheet of signs and posters. To download, right-click the image and select open in new window, then Right-click Save As. |
Really very nicely done. And now that you brought it to my attention, I should probably make one for my 6mm and 15mm games. thanks for sharing the project.
ReplyDeleteThanks irishserb - I'd love to see your mini garage!
DeleteAn excellent piece of terrain. Looks real.
ReplyDeleteThanks A J - appreciated.
DeleteWow lovely scratch build Frank, love the detail.
ReplyDeletecheers John
Thanks John - the 3D printer helps a lot.
DeleteWonderful work!!
ReplyDeleteThanks Anibal.
DeleteA wonderful build Frank, very inspirational.
ReplyDeleteThanks Pat - I really appreciate that.
DeleteHere's me thinking that it was a commercial building and what a great surprise to find it was a scartch build. Wonderful attention to lots of clutter that could be found at any roadside garagin the war years.
ReplyDeleteThanks Joe - I've been relying on MDF for too long. Good to stretch my scrathbuilding legs again.
Delete